Why I Switched to Stainless Steel Cookware – A Mom’s Honest Experience
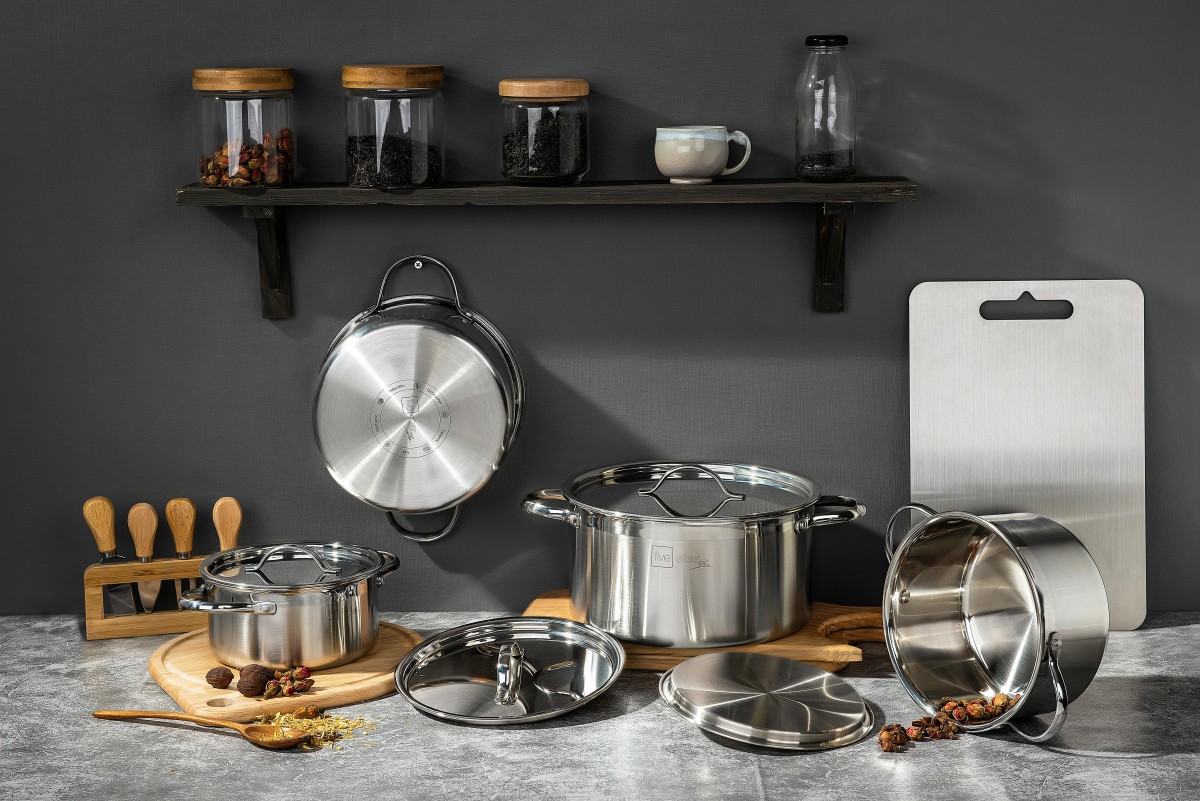
Becoming a mom totally shifted my perspective on everything – from what we eat to what we wear. But most of all, it made me re-evaluate what we use in the kitchen. When my oldest was born with eczema-prone skin, I went into full ‘research mode’ to create a healthier kitchen environment, free from unnecessary chemicals. That’s when the decision to slowly transition all our cookware and kitchen tools to stainless steel became clear.
🥄 Why I Switched to Stainless Steel Cookware
So, while stainless steel cookware isn’t exactly cheap, it truly is a worthwhile long-term investment for a safer, non-toxic kitchen.
1.Why Stainless Steel is Actually Affordable in the Long Run?
Switching to stainless steel is a large upfront cost, but consider the long-term math. Non-stick pans must be replaced every 1 to 3 years once the coating begins to fail or scratch. This constant cycling of cheap pans eventually adds up.
Stainless steel, on the other hand, can easily last 10, 20, or even 50 years if cared for properly. The initial investment pays off within a few years when you realize you’re no longer buying replacements. Furthermore, high-quality stainless steel maintains its value, offering a decent resale value if you ever decide to upgrade. It’s a buy-it-once, use-it-forever item that aligns perfectly with a budget-conscious lifestyle.
2.The Health and Safety Case
Understanding the Non-Stick Concerns: PFOA and PTFE
I wasn’t just worried about scratches; I was worried about the chemicals. The main components I learned to avoid were PFOA (Perfluorooctanoic Acid) and PTFE (Polytetrafluoroethylene).
- PFOA: This substance was used in the manufacturing of many non-stick coatings, and though it’s largely been phased out, its long-lasting presence in the environment remains a concern.
- PTFE (Teflon): While PTFE itself is stable, the major risk comes when non-stick pans are overheated (above 500°F) or when the coating is scratched. Overheating can cause the coating to degrade, releasing fumes that can cause flu-like symptoms in humans (known as polymer fume fever).
For me, the peace of mind knowing I could accidentally overheat my stainless steel pan without toxic fumes was worth every penny. If you still use non-stick, never let the pan heat empty, and discard it immediately once you see signs of scratching or flaking.
So I started switching — little by little, because let’s be honest, stainless steel cookware isn’t cheap. But it’s also an investment. I didn’t buy a full set at once. Instead, I chose pieces that made sense for our family: one saucepan, then a frying pan, and eventually moved on to utensils, straws, cups, and even the kids’ drink bottles. Almost everything in our kitchen is stainless steel — from pots, pans to straws!
💡 Pro tip:If you’re switching, look for 304 or 18/8 stainless steel. These numbers refer to specific compositions that ensure it’s food-grade and highly rust-resistant, making it perfect for long-term daily use. Learn more about the different types and grades of stainless steel on Wikipedia’s Stainless Steel page.
🧽 How to Prep New Stainless Steel Cookware (Remove Factory Polishing Residue)
Many people don’t realize this, but new stainless steel products often come with a polishing compound or residue from the manufacturing process. This isn’t something you want mixing with your food! It’s crucial to know how to clean new stainless steel pans properly before their first use to remove manufacturing residue from stainless steel.
Here are safe, effective ways to remove that factory residue:
- Vinegar + Water: Mix equal parts vinegar and water. Wipe the cookware inside and out, then rinse well.
- Baking Soda Paste: Make a paste using baking soda and water. Rub gently with a soft sponge and rinse thoroughly.
- (Optional) Olive Oil Polish: Some people use olive oil on a cloth to wipe the surface after cleaning. While this doesn’t remove residue, it can add a natural shine.
And just to clear things up: No, you don’t need to heat or do any special ‘burn-in’ process. Just a good clean before its first use is all it takes to make your new stainless steel cookware ready!
🍳 Getting Used to Cooking with Stainless Steel
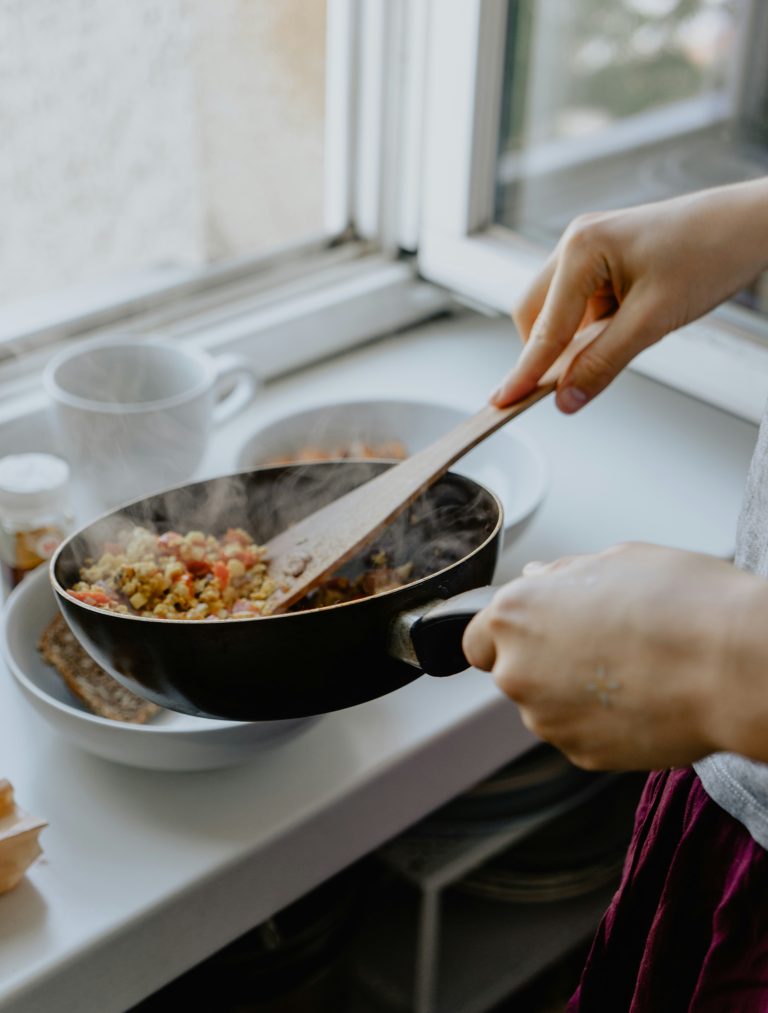
I won’t lie — stainless steel pans take some getting used to. Just for the nice sunny side up eggs, I watched YouTube videos on how to use a stainless steel pan!
But once you figure out how to preheat properly and add oil at the right time, it gets easier. Here’s what worked for me:
- Preheat the pan on medium heat – Depending on the thickness, 1–2 minutes or 3- 5 minutes.
- Add oil and swirl
- Wait about 15–30 seconds, then add your food
💡 Pro tip: To check if your stainless steel pan is adequately preheated, use the water droplet test as follows:
The exact time will depend on your stovetop and the thickness of the pan (as mentioned above). Flick a few drops of water onto the surface of the pan. If the water droplets bead up and dance or roll around the surface of the pan before slowly evaporating, the pan has reached the ideal temperature for cooking and is less likely to cause sticking. These droplets are sometimes referred to as the “Leidenfrost effect.”
🔥 How to Clean Stuck-On Food
Don’t panic when things stick — it’s part of the stainless steel cookware journey. But luckily, there are ways to clean stuck-on food without damaging your pans:
- Vinegar + Baking Soda Method
- Add 1 part vinegar and 1 part water to your pan
- Bring to a boil, then remove from the heat
- Sprinkle baking soda
- Let it fizz, scrub gently, rinse
- Baking Soda Scrub
- Mix baking soda with water to create a paste
- Apply it to stuck areas
- Let it sit for 10–15 minutes and scrub
- Bar Keepers Friend (for heavy-duty messes)
- Sprinkle a small amount on the wet surface
- Scrub with a soft sponge
- Rinse thoroughly
These methods work wonders and help your pans look shiny again without harsh chemicals.
👶 Stainless Steel for Kids Too!
Yes, even my kids’ utensils and cups are stainless steel. We use small tumblers, reusable straws, and leakproof bottles. They’re undeniably safer than plastic, as they’re BPA-free and you don’t have to worry about microplastics. Plus, they’re super durable and a breeze to clean, making them perfect plastic-free kids’ cups and bottles.
We use:
Here are a few Amazon links to products I recommend:
- Stainless Steel Measuring Cups and Spoons Set
- Stainless Steel Pot
- Stainless Frying Pan 10inch, Stainless Frying Pan 12inch
- Stainless steel salad bowl with lid
- Stainless Steel Kitchen Utensil Set
💬 Final Thoughts
Switching to stainless steel cookware has been a slow and intentional journey, but I honestly feel it’s one of the best decisions I’ve made as a mom. It gives me peace of mind knowing that what I cook with daily is safe, durable, and long-lasting. If you’ve been thinking about making the switch — start small. One good pan can make a big difference.
Let me know in the comments if you’ve tried stainless steel products or have any tips too!


